This is something that I am seeing more and more often (including happening to me recently too). When you open an agent in Automate this is missing:
You may get an error if you are trying to access an agent using the Control button in the main dashboard. It may even tell you the integration is broken.
Step 1 – Make sure everything is up to date
There are FOUR major components to the ConnectWise Control > Automate Integration.
ConnectWise Automate – Main Patched Version
Though this probably is the smallest chance of being the problem, it has been known that certain versions of Automate will only work with certain other dependencies. Make sure you that you are on the latest Automate Patch
ConnectWise Automate Plugin – ConnectWise Control
This is the plugin that sits inside Automate. It has two components, the main plugin and a remote plugin. You can get the plugin versions by going to Systems > Solutions > Plugin Manager.

Make sure that the plugins are Enabled and DB Loaded, IIS Loaded and for the Remote Plugin only Remote Agent. These versions are correct as of 18th June 2020, but will likely have changed by the time you are reading this article.
To ensure these plugins are up to date, go into System > Solutions > Solution Center. Choose the option on the side to Reload the Solution Center and wait for it to complete (takes a while). Update the ConnectWise Control solution if it shows out of date or updates needed.
ConnectWise Control – Main Patched Version
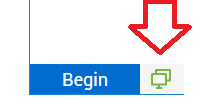
This is referring to your actual version of ConnectWise Control. In certain environments, this will be installed on the same server as Automate. In other environments, it will be on a separate server. I’ve seen a number of partners who have assumed this was built in to Automate. It isn’t. It’s a separate piece of software that has its own separate interface. It looks a bit like this:
This software has different users/identities than Automate and requires its own Username/Passwords. The integration that exists between Control and Automate does not need a user and is controlled automatically by an API key.
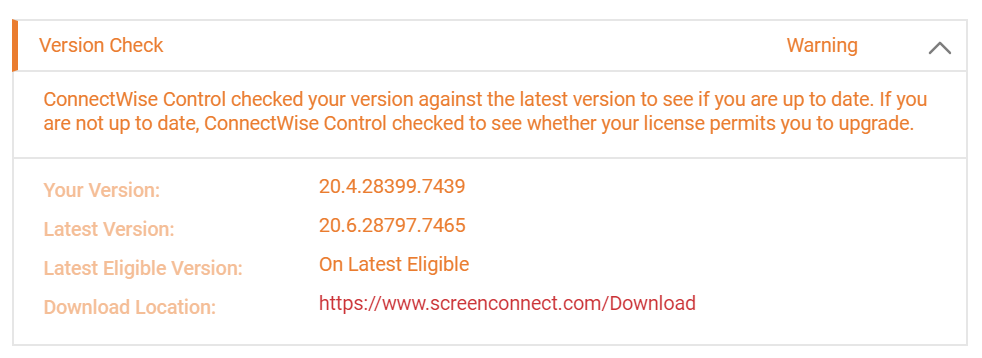
To further confuse matters, on certain occasions, Automate will only support up to a certain version of Control. You can see this in the version check:
You don’t need to update Control here – Automate has an option to update you to the latest supported. This is something you have to do manually both on Cloud AND On-Premise. ConnectWise doesn’t do this for you (unless your Control is hosted on screenconnect.com, which most peoples are not).
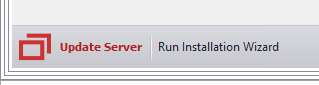
In Automate go to System > Configuration > Dashboard > Config (Tab) > Integration (Tab) > ConnectWise Control (Tab). When an update is available, it will show an Update Server in the bottom left-hand corner. Click this to go through a wizard which will update the Control Installation for you.
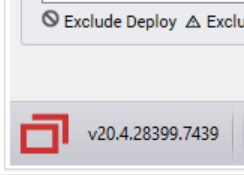
If it does not need an update, it will look like this (please remember the version number is unlikely to be the same). If it does, you can skip to the next section:
If it does need an update, it will look like this with the words Update Server. This is a clickable link. PLEASE BACKUP CONTROL FIRST AS IT SUGGESTS!:
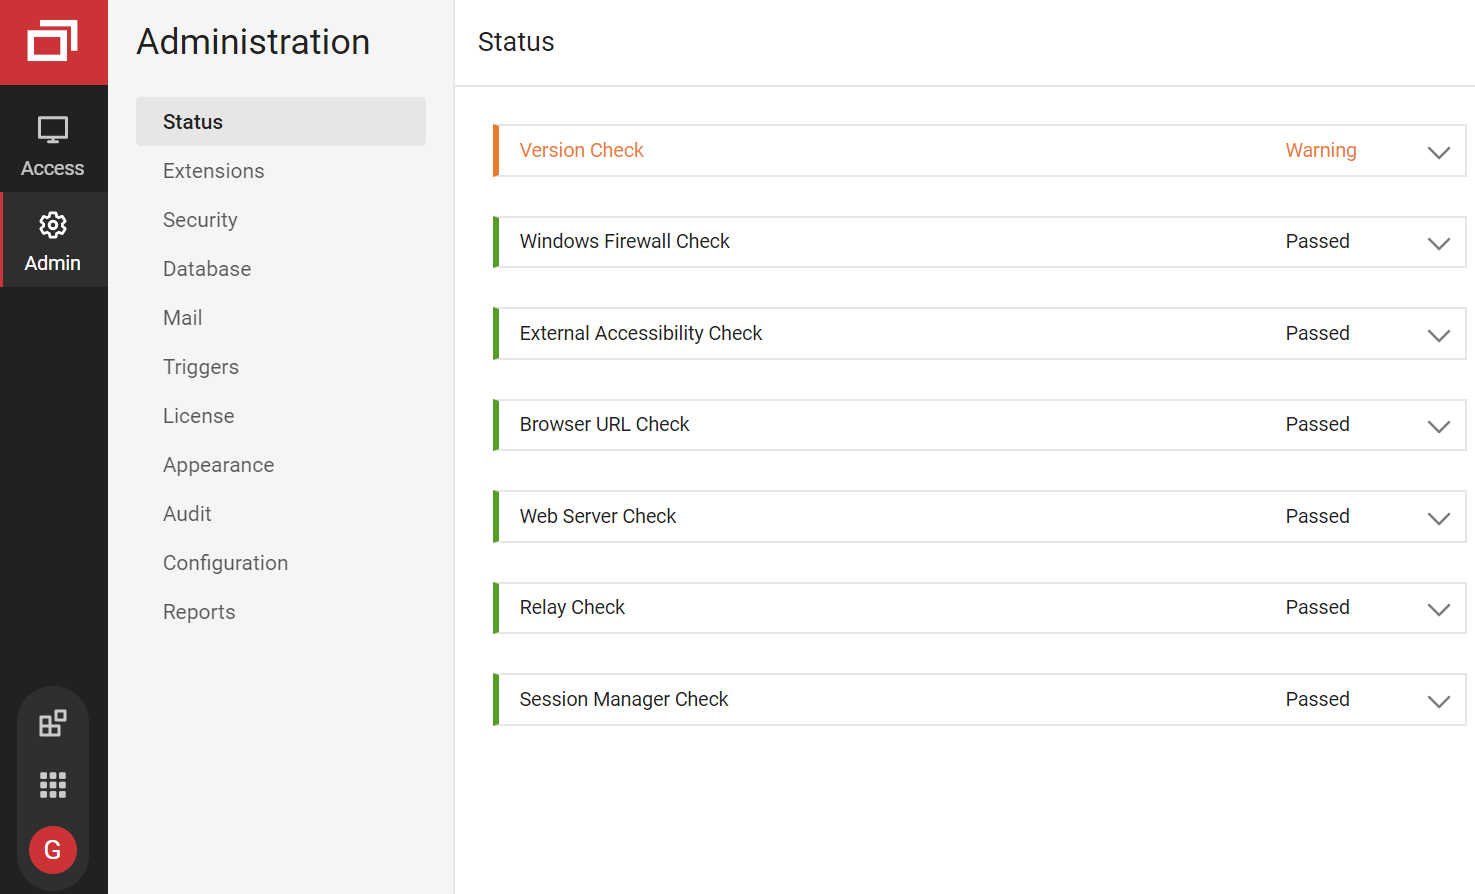
I’d like to also draw your attention to the Status at the top. These will often have red x’s when integration is broken:
When integration is seemingly fine:

When it is broken:
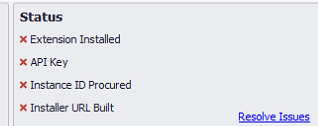
Don’t be tempted to click Resolve Issues unless you are sure everything is up to date.
ConnectWise Control – Automate Integration Extension
This seems to be the one that most people don’t know about. This is an extension installed in Control and is also vital for Automate integration. Navigate to your Control web interface, Admin (left-hand menu) > Extensions. You will see the ConnectWise Automate Integration:
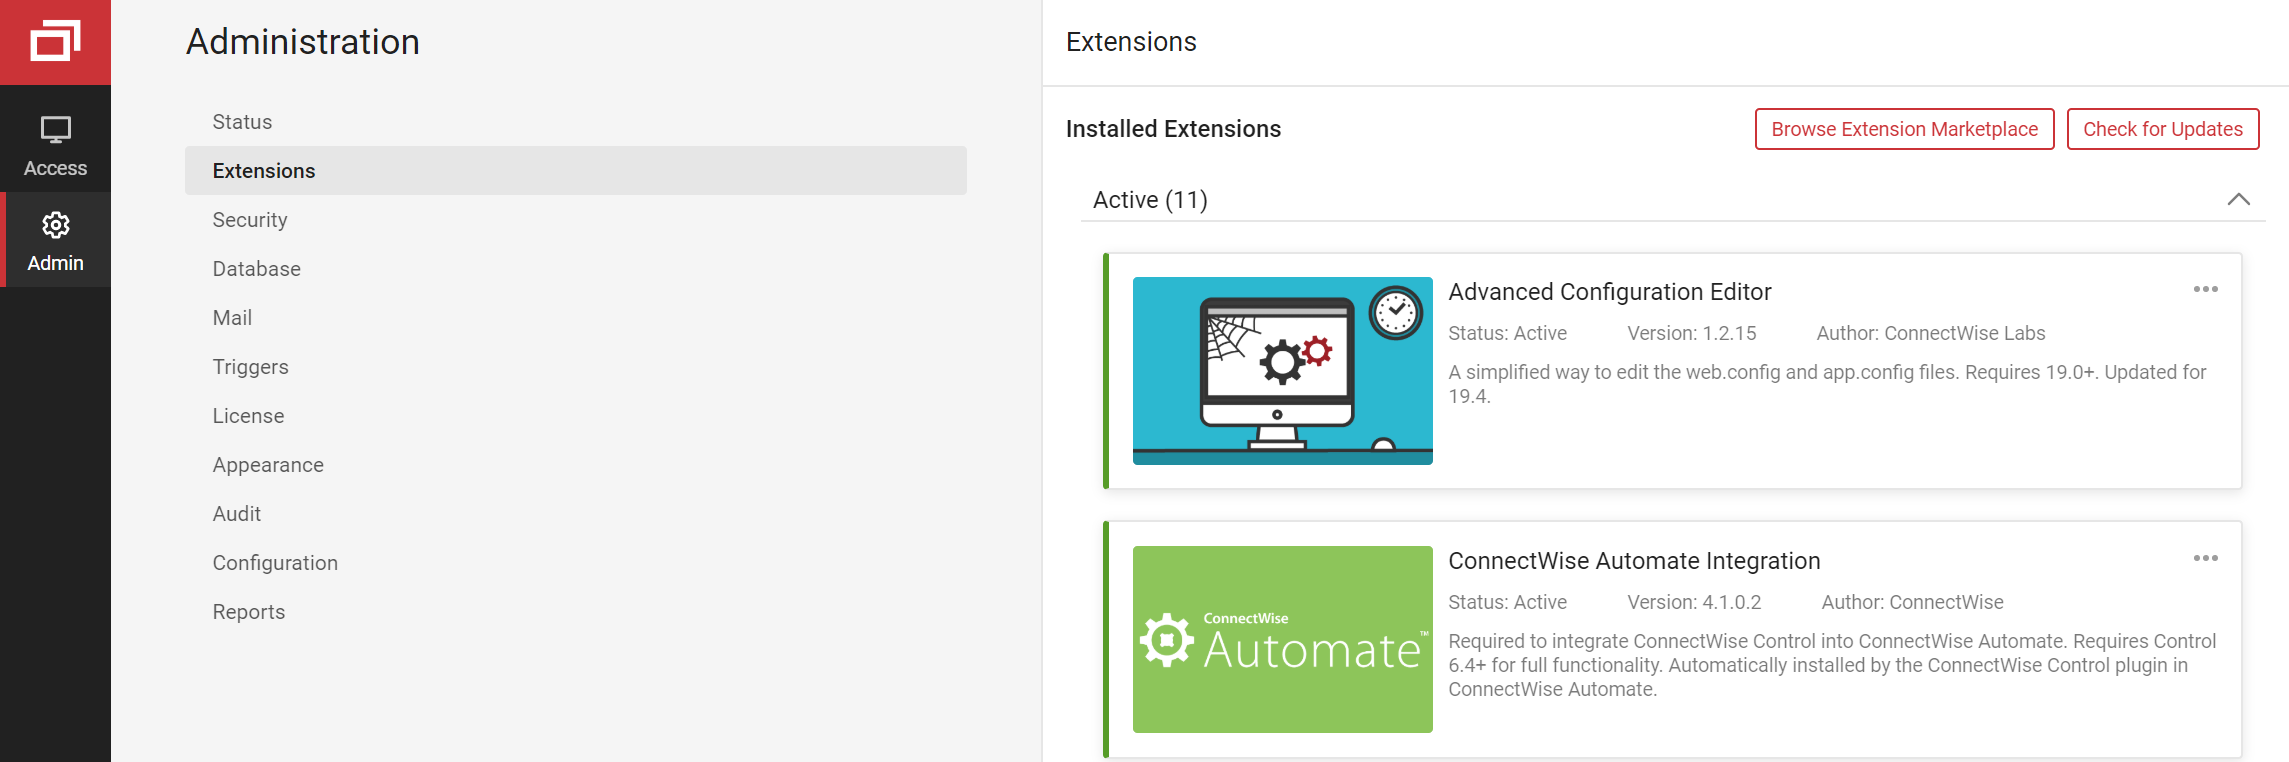
Click the Check for Updates (Top Right). If your ConnectWise Automate Integration has a green tick, it’s up to date:
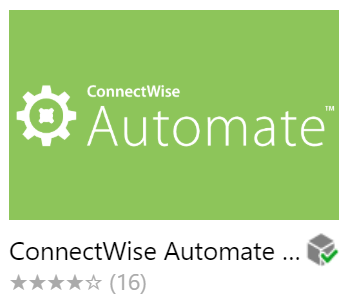
If it is red and orange, it’s out of date:

Click the extension and choose Update.
Step 2 – Make sure everything is up to date…. again
No, this isn’t groundhog day. Certain versions of the Automate (Control Plugin) will only be visible or available in the Solution Center when certain versions are installed. Reload your solution center and see if there is now a newer plugin. Update to it if necessary.
Step 3 – If things are still not working, hit resolve issues
In Automate go to System > Configuration > Dashboard > Config (Tab) > Integration (Tab) > ConnectWise Control (Tab). If you have red x’s in the Status pane, click Resolve Issues and wait 5 minutes, then restart your Automate Control Center. If everything ticks green at this point, you are probably good to go. If it doesn’t, proceed to Step 4.
Step 4 – Reboot your Automate server (or restart the Database Agent Service)
I hit this step the other day when my integration broke, and it started working again following an Automate reboot. You may be able to get away with just restart the database agent, which is required when plugins have been updated.
Step 5 – Reboot you Control server (if it’s separate)
Though I’ve never hit this step, it may help you.
I am having problems with the web integration
Clear your web browser cache and make sure it is enabled by logging on to https://yourserver/automate, clicking the “Radio sliders” at the bottom left, Solutions > Extension Manager > Web Extension (Tab). Make sure ConnectWise Control is enabled.
I will add more information to this article each time I see a different potential fix. I hope you’ve found it useful. If you’re at the end of this and still stuck, then please hit the MSPGeek Slack and ask for help in the main channel.
Advanced – User Class Permissions
Periodically, a Control update will expose new “User Class” permissions which allow you to restrict parts of the Control integration. Go to System > Users and Contacts > User Class Manager > Plugin (Tab) and scroll down and expand ConnectWise Control Plugin. You can limit certain things here for certain user classes, IE restrict the use of the shared toolbox, prevent printing over the session, stop file transfers etc. Please note – Super Admins have access to everything by default.
Advanced – Web.Config incorrectly configured in Control Server
WARNING: Do not make this change unless you know what you are doing (if you don’t please contact Control support). This was bought to my attention by Tyler @Hikato in Slack following a Control update. Open C:\Program Files (x86)\ScreenConnect\web.config and check the <httpModules> section to make sure it has this line
<add name="ExtensionModule" type="ScreenConnect.ExtensionModule, ScreenConnect.Web" />
Here are the instructions Tyler was sent to fix this:
1. Make a copy backup of the C:\Program Files (x86)\ScreenConnect\web.config file
2. Edit the web.config and add this line to the bottom of the <httpModule> settings
<add name=”ExtensionModule” type=”ScreenConnect.ExtensionModule, ScreenConnect.Web” />
3. Restart the ScreenConnect Session Manager service. This should restart Relay and Web Server services for ScreenConnect successfully
4. Open up the Automate thick client System > Configuration > Dashboard > Config > Integration > ConnectWise Control > and use Resolve Issues button. All 4 green check marks should appear at this time.


Leave A Comment